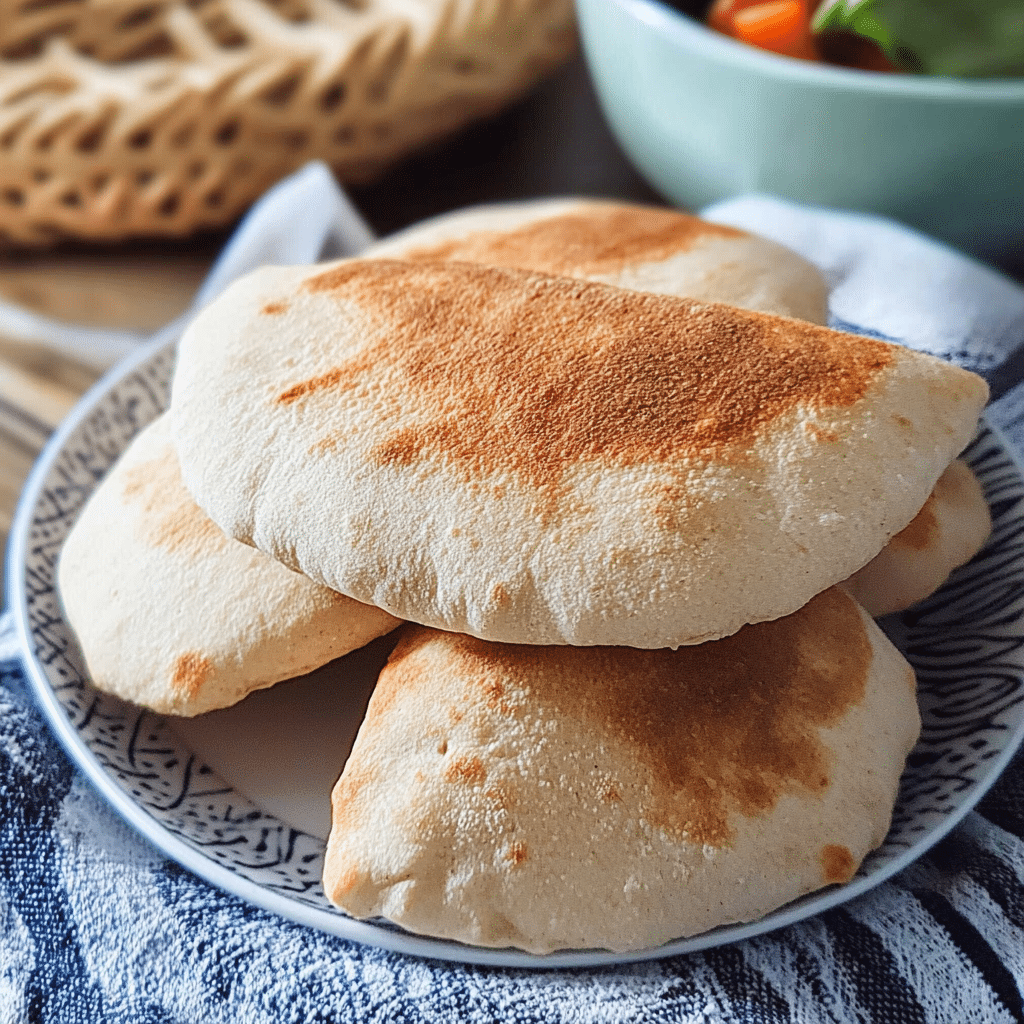
Pita Bread is a soft, pillowy flatbread with a signature pocket that makes it perfect for stuffing with your favorite fillings. Lightly crisp on the outside and fluffy on the inside, this Mediterranean classic is incredibly versatile—use it for sandwiches, dipping, or as a base for mini pizzas. Freshly made pita is warm, slightly chewy, and so much better than store-bought!
I first made Pita Bread when I wanted a homemade alternative to store-bought options, and the results were incredible. Watching the dough puff up in the oven was so satisfying, and the fresh, warm pita had a deliciously soft texture with just the right amount of chew. What I love most about this recipe is how simple it is to make with just a few pantry ingredients—flour, yeast, water, and a touch of olive oil.
What’s great about Pita Bread is its versatility. You can enjoy it warm with hummus, stuff it with grilled meats and veggies, or toast it into crispy chips for dips. It’s also easy to customize—add herbs, garlic, or whole wheat flour for a different twist. Whether you’re making a batch for meal prep or serving it fresh out of the oven, homemade pita is a game-changer!
Perfect for:
- Sandwiches and wraps
- Dipping into hummus and tzatziki
- Mediterranean and Middle Eastern dishes
- Homemade pita chips
- A delicious side for soups and stews
Why You’ll Love This Recipe
Here are 10 reasons why this Pita Bread recipe will become a kitchen favorite:
- Soft and Fluffy Texture: Homemade pita is tender and pillowy with a delightful chew.
- Easy to Make: Requires just a few pantry staples and simple steps.
- Signature Pocket: Puffs up in the oven, creating the perfect pocket for fillings.
- Versatile Usage: Can be used for sandwiches, wraps, chips, or as a side.
- No Special Equipment Needed: Just a mixing bowl, rolling pin, and baking sheet or skillet.
- Quick Cooking Time: Cooks in just minutes, making it a fast homemade bread option.
- Healthier Than Store-Bought: No preservatives or unnecessary additives.
- Customizable Flavors: Can be infused with herbs, garlic, or whole wheat flour.
- Pairs Well with Many Dishes: Complements a variety of cuisines and meals.
- Satisfying and Fresh: Enjoy warm, freshly baked pita straight from your kitchen.
Preparation and Cooking Time
- Total Time: 1 hour 45 minutes (including rising time)
- Preparation Time: 15 minutes
- Cooking Time: 5 minutes per batch
- Rising Time: 1 hour
- Servings: 8 pita breads
- Calories per serving: Approximately 180-200 calories
- Key Nutrients: Protein: 5g, Carbs: 35g, Fat: 1g
Ingredients
Basic Pita Dough:
- 3 cups all-purpose flour (or whole wheat flour for a heartier option)
- 2 ¼ teaspoons active dry yeast (1 packet)
- 1 teaspoon salt
- 1 teaspoon sugar
- 1 cup warm water (about 110°F/45°C)
- 1 tablespoon olive oil
Optional Flavor Enhancements:
- 1 teaspoon garlic powder for a savory touch
- 1 teaspoon dried oregano or thyme for Mediterranean flair
- Sesame or nigella seeds for topping
Ingredient Highlights
- All-Purpose Flour: Creates a soft and fluffy pita bread texture.
- Active Dry Yeast: Helps the dough rise and gives the bread its airy quality.
- Olive Oil: Adds a subtle richness and improves the dough’s elasticity.
- Warm Water: Activates the yeast and helps with dough hydration.
Step-by-Step Instructions
Make the Dough:
- Activate the Yeast: In a small bowl, mix warm water, sugar, and yeast. Let it sit for 5-10 minutes until foamy.
- Combine Dry Ingredients: In a large bowl, whisk together flour and salt.
- Mix and Knead: Add the yeast mixture and olive oil to the flour mixture. Stir until combined, then knead on a lightly floured surface for about 8-10 minutes until the dough is smooth and elastic.
- First Rise: Place the dough in a greased bowl, cover with a clean towel, and let it rise in a warm place for about 1 hour or until doubled in size.
Shape the Pitas:
- Divide Dough: Punch down the dough and divide it into 8 equal pieces.
- Roll Out: Roll each piece into a circle about ¼-inch thick. Cover with a towel while rolling the rest.
Cook the Pita Bread:
Oven Method:
7. Preheat Oven: Heat the oven to 475°F (245°C) and place a baking sheet or pizza stone inside to heat.
8. Bake: Place rolled-out pitas onto the hot baking sheet. Bake for 2-3 minutes until puffed and lightly golden.
9. Cool: Remove and cover with a clean towel to keep soft.
Stovetop Method:
10. Heat a Skillet: Warm a dry skillet over medium-high heat.
11. Cook the Pita: Place one rolled-out pita in the skillet and cook for about 30 seconds until bubbles form. Flip and cook for another 1-2 minutes per side until puffed and lightly browned.
12. Repeat: Remove and keep covered to retain softness.
Serve:
- Enjoy Warm: Serve fresh or store for later use.
How to Serve
Here are 10 ways to enjoy Pita Bread:
- As a Classic Pocket Sandwich: Stuff with falafel, grilled chicken, or veggies.
- With Hummus or Tzatziki: Perfect for dipping into creamy spreads.
- As a Wrap: Roll up shawarma, gyros, or kebabs inside.
- For Mediterranean Meze: Serve alongside olives, feta, and fresh veggies.
- As Pita Chips: Cut into triangles, bake until crispy, and serve with dips.
- With Soups and Stews: A great side for lentil soup or hearty stews.
- As a Breakfast Option: Spread with peanut butter, honey, or jam.
- For a Quick Pizza Base: Top with sauce, cheese, and veggies, then bake.
- With Grilled Meats: Serve alongside grilled lamb, chicken, or beef.
- As a Flatbread Substitute: Use in place of naan or tortillas.
Additional Tips
- Perfect Dough Hydration – Pita dough should be slightly sticky; avoid adding too much flour to keep it soft and pliable.
- Resting is Key – Allow the dough to rest properly after kneading. This helps gluten relax, making rolling easier and ensuring a good puff.
- Roll Evenly – Roll out the dough evenly (¼-inch thick) to help it puff uniformly in the oven or on the stovetop.
- Preheat Your Cooking Surface – Whether using a baking stone, skillet, or oven tray, ensure it’s fully preheated to 475°F (245°C) for the best puff.
- Steam Boost – If baking in the oven, place a small tray of water inside to create steam, helping the pita rise beautifully.
- Use a Hot, Dry Pan – When cooking on a stovetop, use a cast-iron or non-stick skillet on medium-high heat for quick cooking and perfect charred spots.
- Don’t Overcook – Pita should be lightly golden and soft; overcooking makes it dry and brittle.
- Cover After Cooking – Stack and wrap warm pitas in a clean kitchen towel to keep them soft and pliable.
- Freeze for Later – Pita freezes well! Store in airtight bags and reheat in a dry pan or toaster for fresh flavor.
- Experiment with Flavors – Add garlic, herbs, or sesame seeds to the dough for extra flavor variations.
Recipe Variations
- Garlic Herb Pita – Add minced garlic, dried oregano, and basil to the dough for a flavorful twist.
- Whole Wheat Pita – Swap half or all of the all-purpose flour for whole wheat flour to create a heartier, fiber-rich pita.
- Za’atar Pita – Sprinkle the tops with za’atar seasoning before baking for a Middle Eastern-inspired flavor boost.
- Cheesy Pita – Knead shredded parmesan or cheddar into the dough for a cheesy, savory bite.
- Spiced Pita – Mix in ground cumin, paprika, or chili powder for a warm, spiced variation.
- Stuffed Pita – Fill the dough with feta, spinach, or cooked ground beef before baking for a stuffed version.
- Sweet Honey Pita – Add honey and a dash of cinnamon to the dough for a subtly sweet take.
- Sourdough Pita – Use a sourdough starter instead of yeast for a tangy, fermented flavor.
- Flaxseed & Oat Pita – Incorporate ground flaxseeds and oats for extra texture and nutrition.
- Coconut Pita – Replace some of the water with coconut milk and add shredded coconut for a tropical variation.
Special Equipment
- Stand Mixer – For kneading the dough efficiently.
- Rolling Pin – To roll out the dough evenly.
- Baking Stone or Pizza Stone – Helps create the signature puff by retaining heat.
- Cast Iron Skillet – An alternative to baking in the oven, great for stovetop cooking.
- Dough Scraper – Makes handling and dividing dough easier.
- Bench Resting Cloth – Prevents the dough from drying out while resting.
- Instant-Read Thermometer – Ensures the correct oven or skillet temperature.
- Proofing Bowl with Cover – Allows dough to rise properly.
- Perforated Peel or Spatula – Helps transfer pita onto the hot baking stone.
- Cooling Rack – Prevents steam buildup, keeping pita soft.
FAQ Section
- Can I freeze pita bread?
Yes! Store in an airtight bag and freeze for up to 2 months. - Why didn’t my pitas puff up?
Make sure your oven is hot enough and your dough is rolled evenly. - How do I store pita bread?
Keep in an airtight container for up to 3 days.
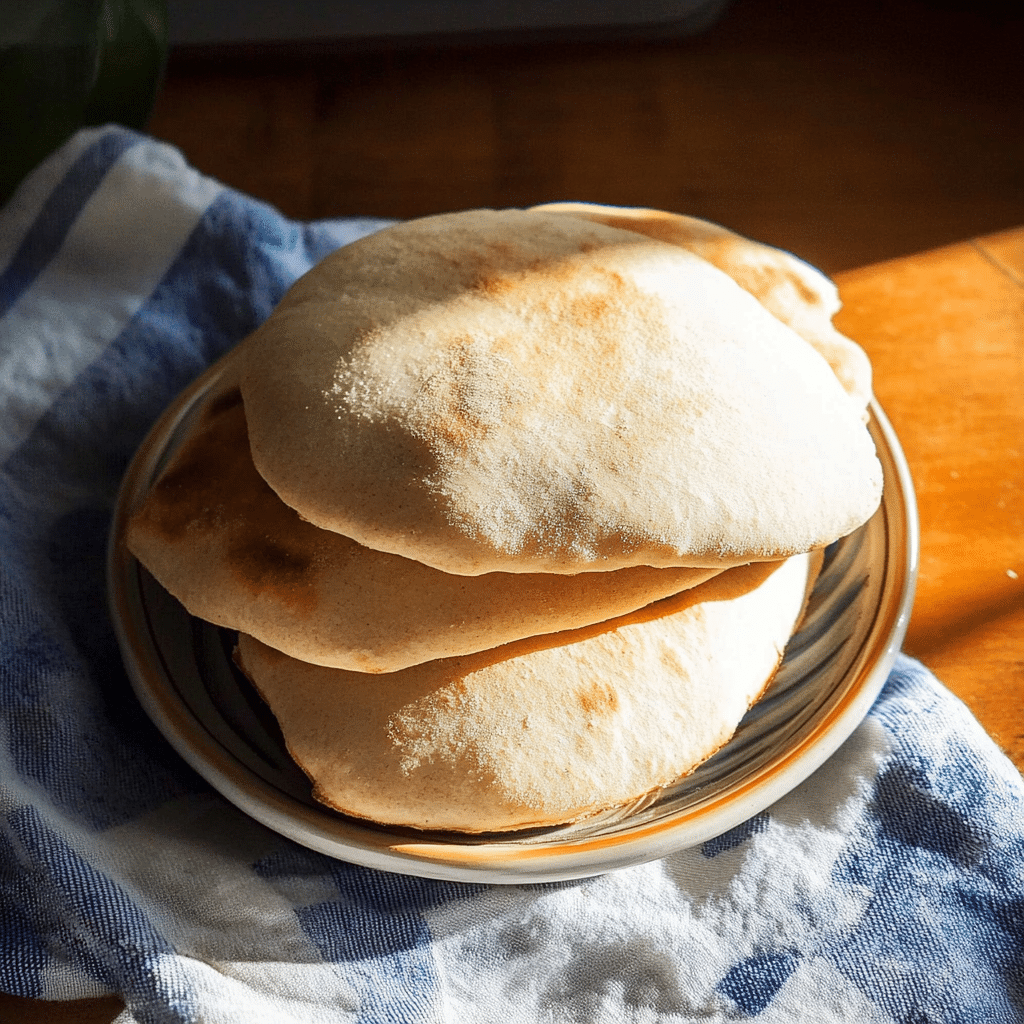
Conclusion
Pita Bread is a soft, fluffy, and slightly chewy flatbread that’s perfect for stuffing, dipping, or wrapping around your favorite fillings. This simple yet versatile bread puffs up beautifully as it bakes, creating a pocket that’s ideal for sandwiches, gyros, or falafel. With just a few basic ingredients—flour, water, yeast, olive oil, and salt—you can make homemade pita that’s far fresher and more flavorful than store-bought versions.
Whether you enjoy it warm and fresh from the oven, dipped in hummus or tzatziki, or stuffed with your favorite ingredients, pita bread is a staple in many cuisines for a reason. It’s easy to make, and you can cook it in the oven or on a hot skillet for that perfect golden-brown finish.
I can’t wait to see how your homemade Pita Bread turns out! Be sure to share your photos on Instagram and tag me—I’d love to see your beautiful, puffy creations! And don’t forget to leave a comment letting me know how you made this dish your own!