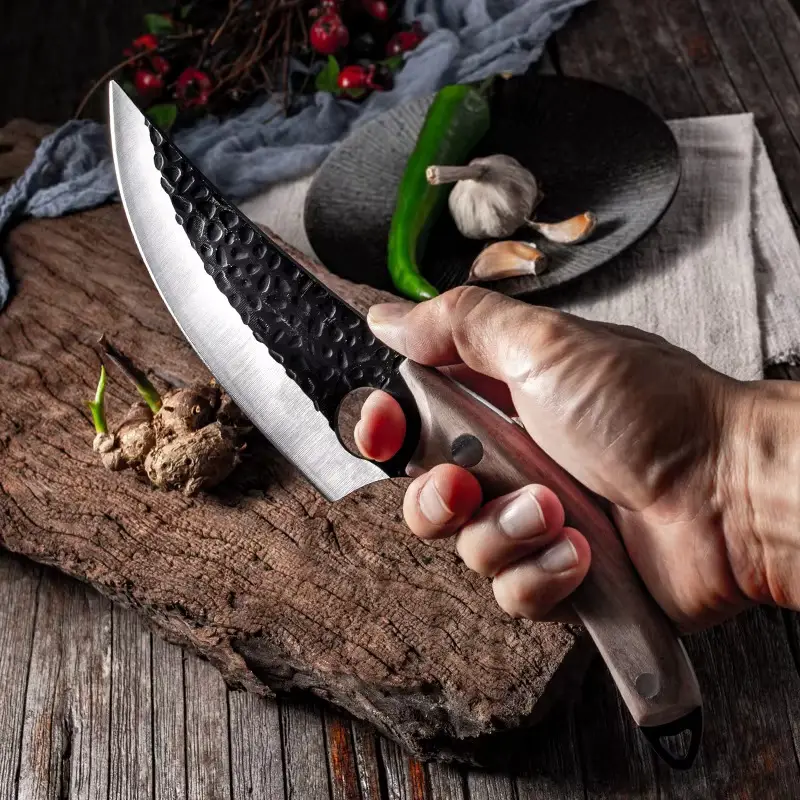
Discover the Kitchen Tool Everyone Is Raving About!
- • Precision Engineered: Sharp blade with durable craftsmanship.
- • Comfort First: Ergonomic design for effortless slicing.
- • Stylish & Strong: Elegant wood handle meets stainless steel strength.
- • Risk-Free Pick: Thousands of happy home chefs can’t be wrong.
- • Today’s Deal: Just $29.95 instead of $99.85 — limited-time offer!
This post may include affiliate links — learn more here .
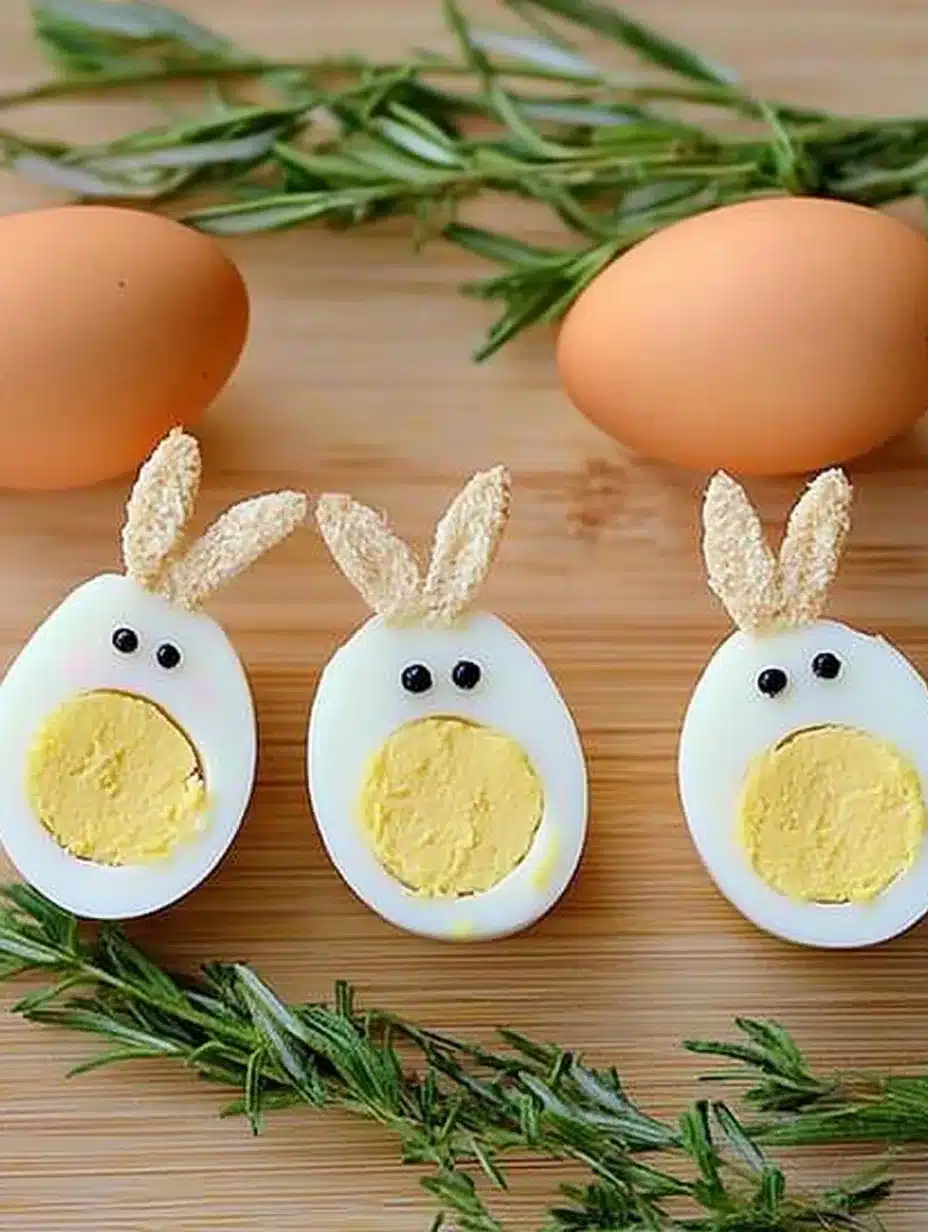
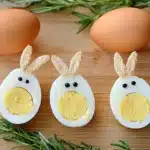
Hard-Boiled Egg Chicks And Bunnies are an incredible way to celebrate springtime festivities and elevate your seasonal gatherings. This delightful recipe allows you to transform ordinary hard-boiled eggs into adorable, edible art. Perfectly crafted to look like cute chicks and bunnies, these treats not only bring a smile to everyone’s face but also make for a fun activity that families can enjoy together. Whether you’re hosting an Easter brunch or simply looking to create something special for your kids, this recipe promises to be a hit.
Imagine gathering around the table with loved ones, showcasing your artistic creations. The joy in their eyes when they recognize the charming designs will surely make the effort worthwhile. What’s more, this recipe is simple enough for children to participate in, sparking their creativity while helping them learn more about food preparation. In this article, you will discover why Hard-Boiled Egg Chicks And Bunnies are not just food but a wonderful, interactive experience that leaves lasting memories. Let’s hop into what makes this recipe so amazing!
Why You’ll Love This Recipe
Hard-Boiled Egg Chicks And Bunnies come with a host of benefits that will endear them to anyone who tries them. Here are several reasons why you will fall in love with this charming recipe:
1. Fun for All Ages: Kids and adults alike can enjoy creating these adorable snacks together.
2. Nutritious and Delicious: Eggs are a fantastic source of protein and essential nutrients, making these treats both healthy and tasty.
3. Creative Expression: You get to use your imagination by designing your chicks and bunnies. Each creation can be unique!
4. Perfect for Celebrations: These cute snacks are perfect for Easter, spring parties, or any occasion that calls for festive food.
5. Easy to Make: The step-by-step instructions make it simple for anyone to follow, no culinary expertise required.
6. Minimal Ingredients: You probably already have most of the necessary ingredients in your kitchen.
With a recipe that combines creativity, nutrition, and fun, it’s no wonder Hard-Boiled Egg Chicks And Bunnies have become a favorite for many households.
Preparation and Cooking Time
Creating your Hard-Boiled Egg Chicks And Bunnies will take approximately 45 minutes. Here’s a breakdown of the time involved:
– Preparation Time: 15 minutes
– Cooking Time: 10-15 minutes (for boiling the eggs)
– Decorating Time: 20 minutes
These estimates can vary slightly depending on your kitchen skills, but this outline should give you a good idea of the time commitment needed.
Ingredients
– 6 large eggs
– 1 tablespoon mayonnaise (for filling)
– 1 teaspoon mustard (for filling)
– Salt and pepper, to taste
– Food coloring (yellow and orange for chicks, white and brown for bunnies)
– Black olives or peppercorns (for eyes)
– Carrot sticks (for the beak or bunny nose)
– Fresh herbs (for decoration, like parsley or chives)
Step-by-Step Instructions

Transforming your hard-boiled eggs into adorable chicks and bunnies is a straightforward process. Follow these simple steps:
1. Boil the Eggs: Place eggs in a saucepan and cover with cold water. Bring to a boil, then cover, remove from heat, and let sit for 10-12 minutes.
2. Cool the Eggs: Once cooked, transfer the eggs to a bowl of ice water to cool for at least 5 minutes.
3. Peel the Eggs: Gently tap the eggs on a hard surface to crack the shells, then peel under running water for ease.
4. Prepare the Filling: In a bowl, mix mayonnaise, mustard, salt, and pepper. Slice the top off of 4 eggs for the chicks and remove some of the filling.
5. Color the Eggs: For chicks, dye eggs using yellow food coloring. For bunnies, use white and brown coloring as desired.
6. Create Chick or Bunny Faces: Using the filling, add a small amount back into the hollowed-out part. Create beaks with carrot sticks or small pieces of other vegetables.
7. Add Eyes: Use black olives or peppercorns to create the eyes of your chicks and bunnies.
8. Decorate Further: Use fresh herbs for an added touch, making it look like they are sitting in a grassy area.
9. Display Creatively: Arrange the creatures in a nice serving platter or nest them in shredded paper or edible grass for presentation.
These simple yet effective steps will help you create impressive Hard-Boiled Egg Chicks And Bunnies that will undoubtedly be a highlight of your event!
How to Serve
Presentation is everything when it comes to these adorable snacks. Here are some tips on how to serve your Hard-Boiled Egg Chicks And Bunnies:
1. Creative Platter: Use a decorative plate to showcase your creations, arranging them in a playful way that invites guests to dig in.
2. Pair with Dips: Serve alongside a few light dips, such as ranch or hummus, for added flavor and texture.
3. Garnish: Scatter fresh herbs around the eggs on the platter to add color and freshness.
4. Interactive Idea: Place the eggs next to a small bowl of extra decorations (like additional cut veggies or herbs) that guests can use to customize their snacks before they eat.
5. Theme Match: Ensure the serving area matches the theme of your event, such as Easter or spring, through colorful tableware or decorations.
By paying attention to how you serve Hard-Boiled Egg Chicks And Bunnies, you elevate the entire dining experience for your guests, making it not only memorable but also fun!
Now that you have an understanding of how to whip up these delightful treats, gather your ingredients and set aside some time to create your own adorable Hard-Boiled Egg Chicks And Bunnies! This amazing recipe is sure to enchant both young and old, turning a simple hard-boiled egg into an edible masterpiece. Happy cooking!
Additional Tips
– Use Fresh Eggs: Using fresh eggs will yield the best results. They are easier to peel and will have a better flavor.
– Experiment with Colors: Don’t hesitate to play around with different food coloring combinations. Get creative with pastels for a more vibrant presentation!
– Use Natural Dyes: Consider using natural food colorings, like beet juice for red or turmeric for yellow, for a healthier alternative.
Recipe Variation
You can customize the Hard-Boiled Egg Chicks And Bunnies recipe in various ways. Here are some fun ideas:
1. Deviled Egg Variation: Instead of mayonnaise and mustard filling, create a deviled egg mixture with ingredients like avocado or Greek yogurt.
2. Different Shaped Treats: Use other molds or stencils to create shapes like flowers or eggs for a broader selection.
3. Add Vegetables: Incorporate chopped vegetables such as bell peppers or cucumbers into the filling for more texture and taste.
Freezing and Storage
– Storage: Store your decorated Hard-Boiled Egg Chicks And Bunnies in an airtight container in the refrigerator. They are best enjoyed within 2-3 days.
– Freezing: While hard-boiled eggs can technically be frozen, the texture may change upon thawing. It’s recommended to consume them fresh.
Special Equipment
You won’t need much specialized equipment to create these cute snacks. However, here are a few items that may come in handy:
– Mixing bowls for preparing the filling.
– Decorating tools like piping bags for swirls if you want a more professional look.
– A spoon or melon baller to hollow out the eggs efficiently.
Frequently Asked Questions
Can I make these a day in advance?
Yes, you can prepare them the day before your event. Just store them in the refrigerator in an airtight container.
What if I don’t have food coloring?
You can creatively use spices and natural ingredients to tint the eggs. Turmeric works well for yellow, and beet juice can create pink or red hues.
Can I use quail eggs instead?
Absolutely! Quail eggs are a smaller alternative that can add an elegant touch to your presentation.
How long can I keep the decorated eggs?
While they are best when fresh, you can keep them in the refrigerator for 2-3 days if stored correctly.
Are these suitable for someone with a nut allergy?
Yes, this recipe does not contain nuts. Always check the other ingredients you might use for decoration.
Conclusion
Hard-Boiled Egg Chicks And Bunnies are more than just adorable snacks; they serve as a delightful centerpiece for springtime celebrations. The enjoyable process of creating these cute treats fosters creativity, family bonding, and healthier eating habits. Everyone, from kids to adults, can appreciate and take part in this interactive culinary experience. Now that you have all the information and tips, it’s time to put this delightful recipe into action. Gather your ingredients, unleash your creativity, and hop into a world of fun with these charming hard-boiled creations!
Hard-Boiled Egg Chicks And Bunnies: An Amazing Ultimate Recipe
- Total Time: 0 hours
Ingredients
– 6 large eggs
– 1 tablespoon mayonnaise (for filling)
– 1 teaspoon mustard (for filling)
– Salt and pepper, to taste
– Food coloring (yellow and orange for chicks, white and brown for bunnies)
– Black olives or peppercorns (for eyes)
– Carrot sticks (for the beak or bunny nose)
– Fresh herbs (for decoration, like parsley or chives)
Instructions
Transforming your hard-boiled eggs into adorable chicks and bunnies is a straightforward process. Follow these simple steps:
1. Boil the Eggs: Place eggs in a saucepan and cover with cold water. Bring to a boil, then cover, remove from heat, and let sit for 10-12 minutes.
2. Cool the Eggs: Once cooked, transfer the eggs to a bowl of ice water to cool for at least 5 minutes.
3. Peel the Eggs: Gently tap the eggs on a hard surface to crack the shells, then peel under running water for ease.
4. Prepare the Filling: In a bowl, mix mayonnaise, mustard, salt, and pepper. Slice the top off of 4 eggs for the chicks and remove some of the filling.
5. Color the Eggs: For chicks, dye eggs using yellow food coloring. For bunnies, use white and brown coloring as desired.
6. Create Chick or Bunny Faces: Using the filling, add a small amount back into the hollowed-out part. Create beaks with carrot sticks or small pieces of other vegetables.
7. Add Eyes: Use black olives or peppercorns to create the eyes of your chicks and bunnies.
8. Decorate Further: Use fresh herbs for an added touch, making it look like they are sitting in a grassy area.
9. Display Creatively: Arrange the creatures in a nice serving platter or nest them in shredded paper or edible grass for presentation.
These simple yet effective steps will help you create impressive Hard-Boiled Egg Chicks And Bunnies that will undoubtedly be a highlight of your event!
- Prep Time: 15 minutes
- Cook Time: 10-15 minutes
Nutrition
- Serving Size: 6
- Calories: 70 kcal
- Fat: 5g
- Protein: 6g