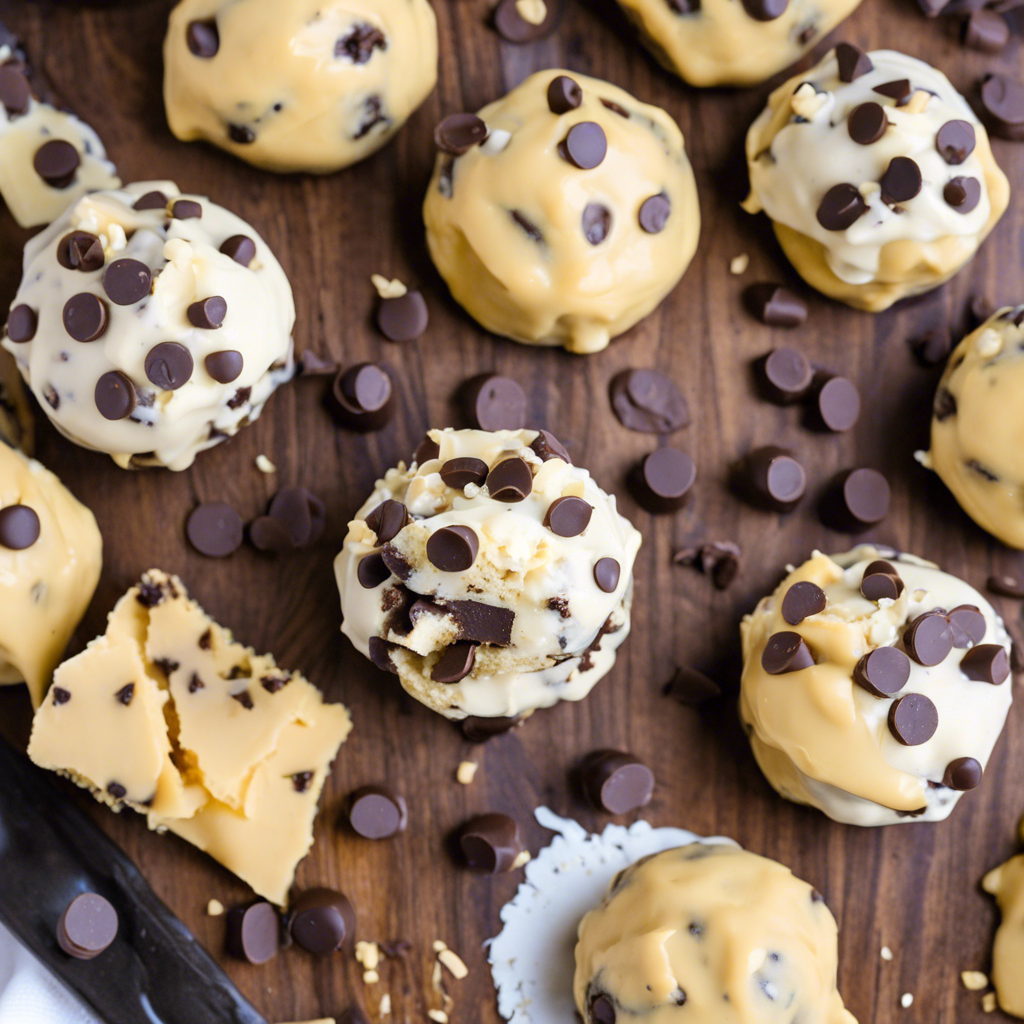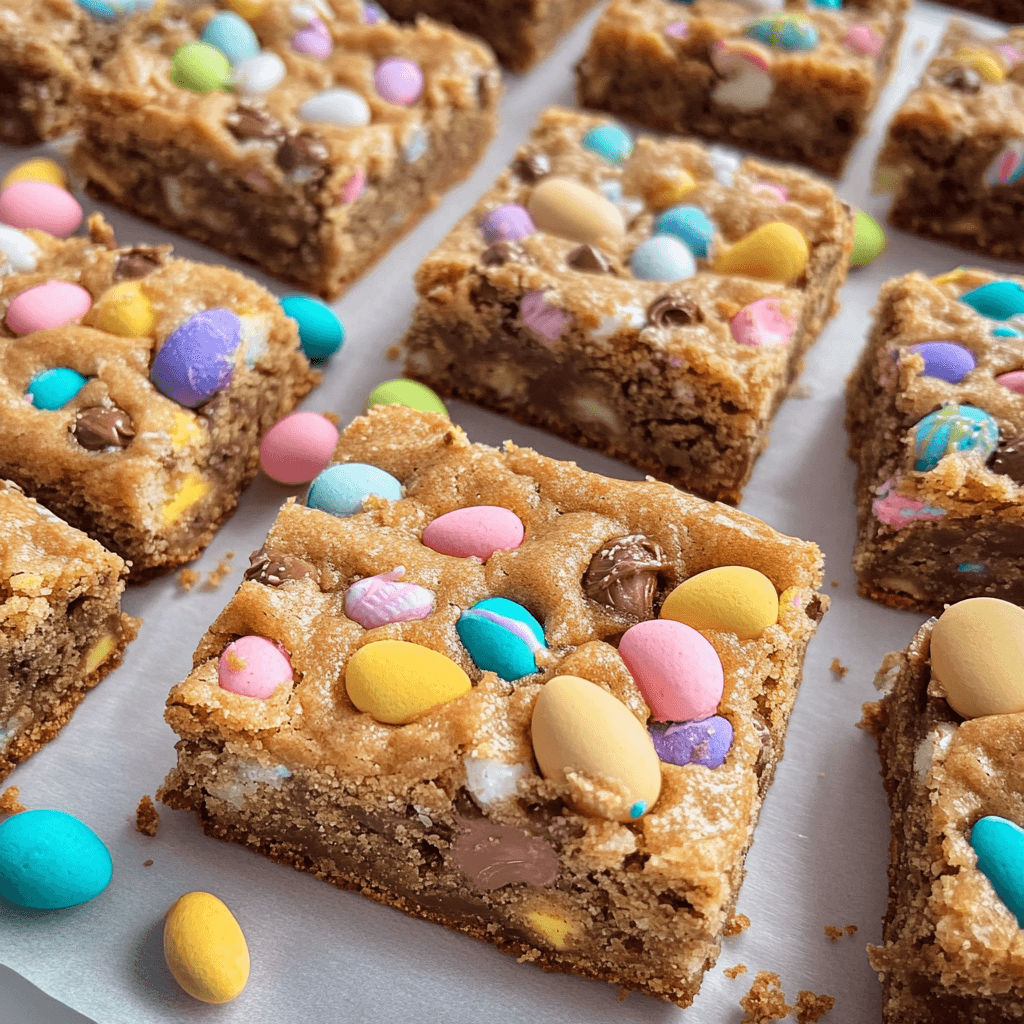
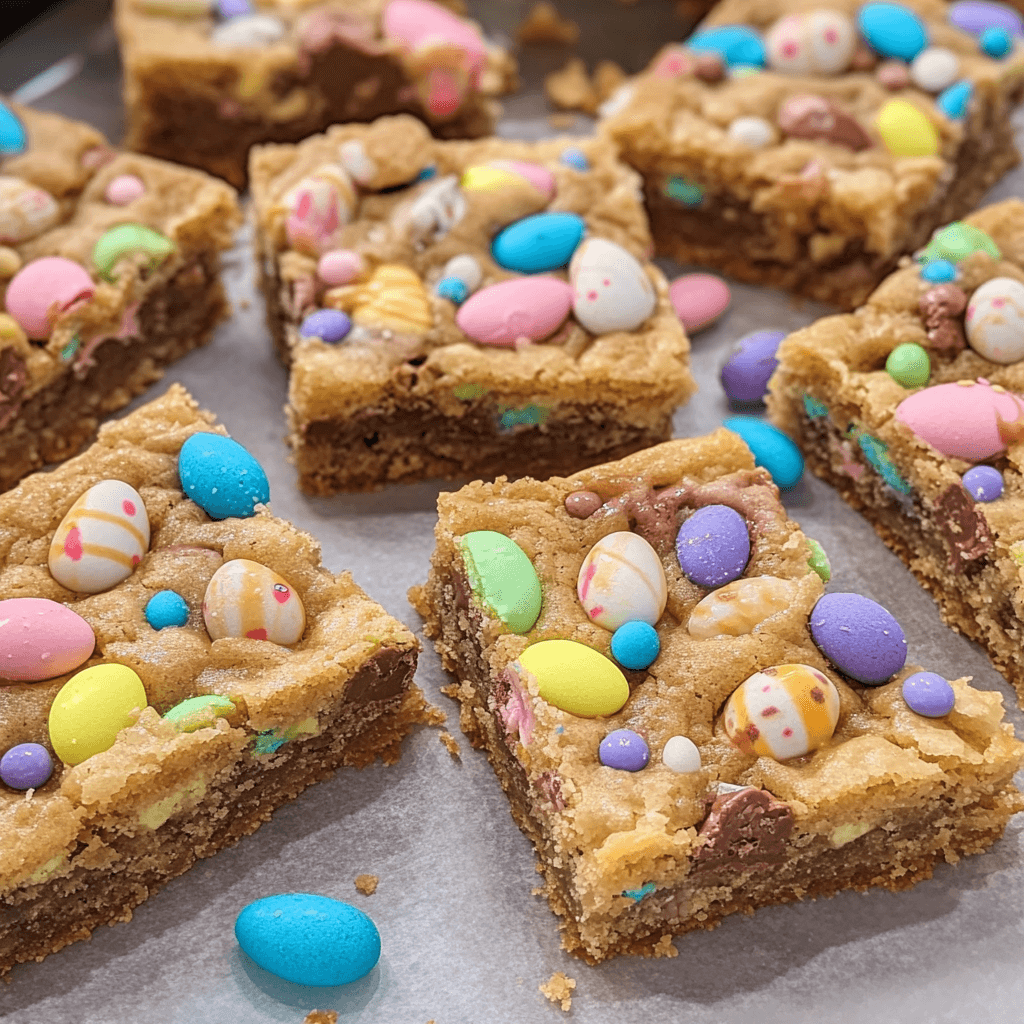
Easter Cookie Bars are soft, chewy, and packed with festive pastel candies, making them the perfect sweet treat for spring! These buttery cookie bars are loaded with chocolate chips, crunchy candy-coated chocolates, and a hint of vanilla, creating a dessert that’s both colorful and delicious.
I first made these when I wanted a fun, easy-to-share Easter dessert, and they quickly became a favorite. The golden-brown cookie base, combined with melty chocolate and festive pops of color, made them irresistible. Plus, they’re so simple to make—just mix, bake, and slice!
What’s great about Easter Cookie Bars is how versatile they are. You can add mini marshmallows, swap in white chocolate chips, or drizzle them with melted chocolate for an extra festive touch. Whether you’re making them for an Easter party, gifting them to friends, or just treating yourself, these cookie bars are sure to be a hit!
Perfect for:
- Easter celebrations
- Springtime gatherings
- Bake sales
- Kid-friendly baking projects
- Cookie lovers
Why You’ll Love This Recipe
Here are 10 reasons why these Easter Cookie Bars will become your go-to holiday dessert:
- Festive and Colorful: The pastel M&M’s and mini eggs make these bars perfect for Easter.
- Soft and Chewy Texture: The cookie dough bakes into a tender, chewy bar with just the right amount of crisp edges.
- Easy to Make: No need to scoop individual cookies—just press the dough into a pan and bake.
- Perfect for Sharing: These bars can be easily cut into squares, making them great for serving a crowd.
- Kid-Friendly Fun: Let kids help mix in the candies and press the dough into the pan.
- Customizable Mix-Ins: Swap out M&M’s for other candies or add nuts for extra crunch.
- Make-Ahead Friendly: These bars stay fresh for days and can even be frozen for later.
- One-Bowl Recipe: Minimal cleanup required—just mix, press, and bake.
- Buttery, Vanilla-Infused Flavor: A classic cookie base enhanced with vanilla extract.
- Pairs Well with Ice Cream: Serve warm with a scoop of vanilla ice cream for extra indulgence.
Preparation and Cooking Time
- Total Time: 45 minutes
- Preparation Time: 15 minutes
- Baking Time: 25-30 minutes
- Servings: 16 bars
- Calories per serving: Approximately 250-300 calories
- Key Nutrients: Protein: 3g, Carbs: 38g, Fat: 12g
Ingredients
For the Cookie Dough:
- 1 cup unsalted butter, softened
- 1 cup brown sugar, packed
- ½ cup granulated sugar
- 2 large eggs
- 2 teaspoons vanilla extract
- 2 ½ cups all-purpose flour
- 1 teaspoon baking soda
- ½ teaspoon salt
- 1 cup pastel M&M’s
- ¾ cup mini chocolate eggs, crushed
- ½ cup semi-sweet chocolate chips
Ingredient Highlights
- Pastel M&M’s: Provide a festive pop of color and chocolatey crunch.
- Mini Chocolate Eggs: Add texture and extra chocolate flavor.
- Unsalted Butter: Gives the bars a rich, buttery taste.
- Vanilla Extract: Enhances the overall flavor profile.
Step-by-Step Instructions
Prepare the Cookie Dough:
- Preheat Oven: Preheat your oven to 350°F (175°C). Line a 9×13-inch baking dish with parchment paper.
- Cream Butter and Sugars: In a large mixing bowl, beat the butter, brown sugar, and granulated sugar until light and fluffy.
- Add Eggs and Vanilla: Mix in the eggs one at a time, followed by the vanilla extract.
- Combine Dry Ingredients: In a separate bowl, whisk together the flour, baking soda, and salt.
- Mix Wet and Dry: Gradually add the dry ingredients to the wet ingredients, stirring until fully combined.
- Fold in Add-Ins: Gently fold in the M&M’s, crushed mini chocolate eggs, and chocolate chips.
Bake the Bars:
- Press Dough into Pan: Evenly spread the cookie dough into the prepared baking dish.
- Add Extra Toppings: Press additional M&M’s and mini eggs on top for a festive look.
- Bake: Bake for 25-30 minutes or until the edges are golden brown and a toothpick inserted in the center comes out clean.
- Cool: Let the bars cool in the pan before slicing into squares.
Serve:
- Slice and Enjoy: Cut into 16 squares and serve at room temperature or slightly warm.
How to Serve
Here are 10 fun ways to enjoy Easter Cookie Bars:
- With a Glass of Milk: A classic pairing for any cookie treat.
- As an Easter Dessert Platter: Arrange with other Easter-themed treats.
- With Ice Cream: Serve warm bars with a scoop of vanilla or chocolate ice cream.
- Drizzled with Chocolate: Add an extra drizzle of melted white or dark chocolate.
- Dusted with Powdered Sugar: Lightly dust for an elegant touch.
- As a Party Favor: Wrap individually for guests to take home.
- Topped with Whipped Cream: Add a dollop for extra indulgence.
- Layered into a Trifle: Crumble into layers with whipped cream and fruit.
- Served at Brunch: A sweet addition to an Easter brunch spread.
- With a Hot Beverage: Pair with coffee, tea, or hot cocoa.
Additional Tips
- Use Parchment Paper – Line your baking pan with parchment paper for easy removal and minimal cleanup.
- Room Temperature Ingredients – Let butter and eggs come to room temperature before mixing for a smoother batter.
- Don’t Overmix – Stir the dough until just combined to keep the bars soft and chewy.
- Evenly Spread the Dough – Use a spatula to press the dough evenly into the pan for uniform baking.
- Customize the Mix-ins – Swap out chocolate chips for white chocolate, butterscotch, or peanut butter chips.
- Add a Crunchy Topping – Sprinkle crushed pretzels or toasted coconut on top for extra texture.
- Chill Before Cutting – Let the bars cool completely before slicing to get clean edges.
- Store Properly – Keep in an airtight container at room temperature for up to five days or freeze for longer freshness.
- Drizzle for Extra Flair – Melted chocolate or caramel drizzled on top adds a decorative and delicious touch.
- Make it Festive – Use pastel M&M’s, sprinkles, or candy-coated eggs to enhance the Easter theme.
Recipe Variations
- Chocolate Lover’s Delight – Swap half of the white chocolate chips for dark or milk chocolate chips and drizzle with melted chocolate after baking.
- Peanut Butter Swirl – Add dollops of peanut butter to the batter before baking and gently swirl with a knife for a rich, nutty twist.
- Carrot Cake Fusion – Mix in shredded carrots, chopped pecans, and a dash of cinnamon for a festive carrot cake-inspired treat.
- Fruity Funfetti – Stir in dried cranberries, chopped dried apricots, and a sprinkle of colorful confetti sprinkles for a fun and fruity touch.
- S’mores Style – Mix in crushed graham crackers, mini marshmallows, and chocolate chunks for a gooey, campfire-inspired cookie bar.
- Cookies and Cream – Fold in crushed chocolate sandwich cookies and white chocolate chips for a creamy, crunchy delight.
- Almond Joy Bliss – Add shredded coconut, chopped almonds, and dark chocolate chips for a coconut-chocolate dream.
- Lemon Burst – Stir in fresh lemon zest and replace some of the chocolate chips with white chocolate and dried blueberries for a bright, citrusy twist.
- Brownie Swirl – Drop spoonfuls of brownie batter into the cookie dough and swirl it together before baking for a fudgy, marbled effect.
- Salted Caramel Pecan – Mix in chopped pecans and drizzle with caramel sauce before baking, then sprinkle with flaky sea salt for a sweet-and-salty treat.
Special Equipment
- 9×13-inch Baking Pan – Ensures even baking and the perfect thickness for your cookie bars.
- Parchment Paper – Helps prevent sticking and makes it easy to lift the bars out for cutting.
- Electric Mixer – Speeds up the creaming process for butter and sugar, ensuring a smooth dough.
- Offset Spatula – Helps spread the cookie dough evenly in the pan.
- Cooling Rack – Allows the bars to cool properly before slicing, preventing a gooey mess.
- Silicone Spatula – Perfect for mixing and scraping down the bowl to avoid wasted batter.
- Measuring Cups & Spoons – Ensures accurate ingredient proportions for the perfect bake.
- Mixing Bowls – Needed for combining wet and dry ingredients separately before mixing.
- Sharp Knife or Bench Scraper – Helps cut the bars neatly without crumbling.
- Decorating Bags & Tips – If adding frosting or drizzles, these help create a festive design.
FAQ Section
- Can I use dark chocolate instead of semi-sweet?
Yes, dark chocolate chips work well for a richer flavor. - How long do these bars stay fresh?
Store in an airtight container for up to 5 days. - Can I freeze these cookie bars?
Yes, they freeze well for up to 2 months. - Can I make these ahead of time?
Absolutely! Bake the bars a day in advance and store them at room temperature. - Can I use a different size pan?
Yes, but baking times may vary.
Conclusion
Easter Cookie Bars are a soft, chewy, and festive treat packed with colorful sprinkles, pastel candies, and rich chocolate chips. These buttery cookie bars are the perfect balance of crisp edges and a gooey center, making them an irresistible dessert for Easter celebrations. Easy to make and fun to customize, they’re a great option for sharing with family and friends!
This recipe is simple to adapt—add crushed mini eggs, white chocolate chips, or even a drizzle of frosting for extra sweetness. Serve them as a dessert at your Easter gathering, pack them for a spring picnic, or enjoy them with a glass of milk for the ultimate treat.
I can’t wait to see how your Easter Cookie Bars turn out! Be sure to share your photos on Instagram and tag me—I’d love to see your festive creations. Don’t forget to leave a comment and let me know how you made this dish your own!